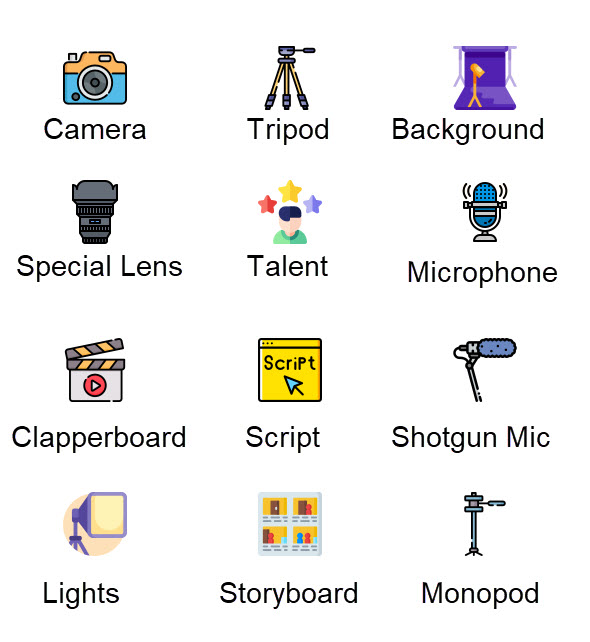
This course if for you if you want to learn the basics of Making Better Video


Looking at some of the Basic Hardware and how to effectively use it.
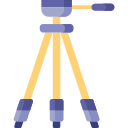
Using a tripod isn't just plonking a camera and using it, which most people do. Its a versatile tool that you need to master. Just about all DSLR owners have one of these, but they don’t always use it. Tripods come in all shapes sizes and of course prices. Many owners buy a cheap tripod and are disappointed with it and then don’t use it. For video productions, you need a tripod and you need a good sturdy one.
In the Blog we look at why, buying a tripod and 1-0 tips and techniques for using one.
Exercises
Pan
Tilt
Pedestal


Typically, I use the monopod more when I am going out and I know there will be little room, but I need a really good and steady support for the camera.
Why would you want to use it?To steady the camera to get smoother video. When you are in a small area, such as in a crowd of people or a confined space.When using a telephoto setting or a long lens, the camera movement is magnified. The monopod reduces this.They are easier to transport than a tripod, fitting easily into most gear bags or attaching to them..
Exercises
Using the monopod to replace the dolly and jib.
Coming soon
The slider is fast becoming an essential tool. Watch any film and you see these in action.
Exercises
Coming soon
Jibs are expensive, but we will show you how you can use cheap jibs and home created jibs to achieve professional jib shots.
Exercises
This course if for you if you want to learn the basics of Making Better Video


The course is structured to make your learning experience easy and fun. Lessons are divided into 3 simple stages. First you learn the theory, then the technique with a series,and then produce the final result for everyone to look at.